Step-by-Step Instructions to Add Your Air Conditioner to SURE Universal Remote
Once you have downloaded the SURE Universal Remote app you may watch this short training video, or you may read the step-by-step instructions below to learn how to add your air conditioner:
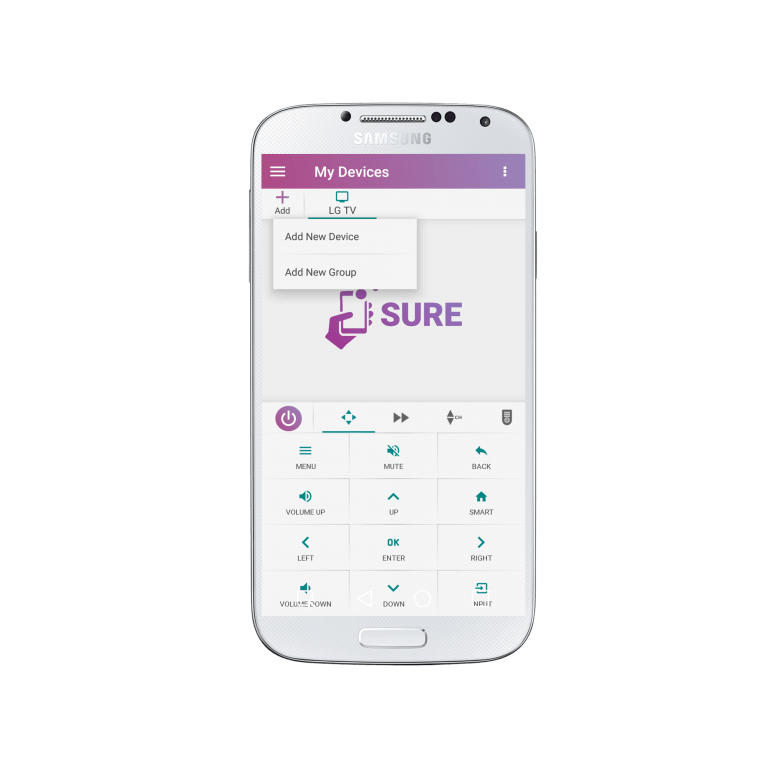
1. From the “All Devices” screen tap the “+” symbol in the upper left of the screen
2. Select “Add New Device”
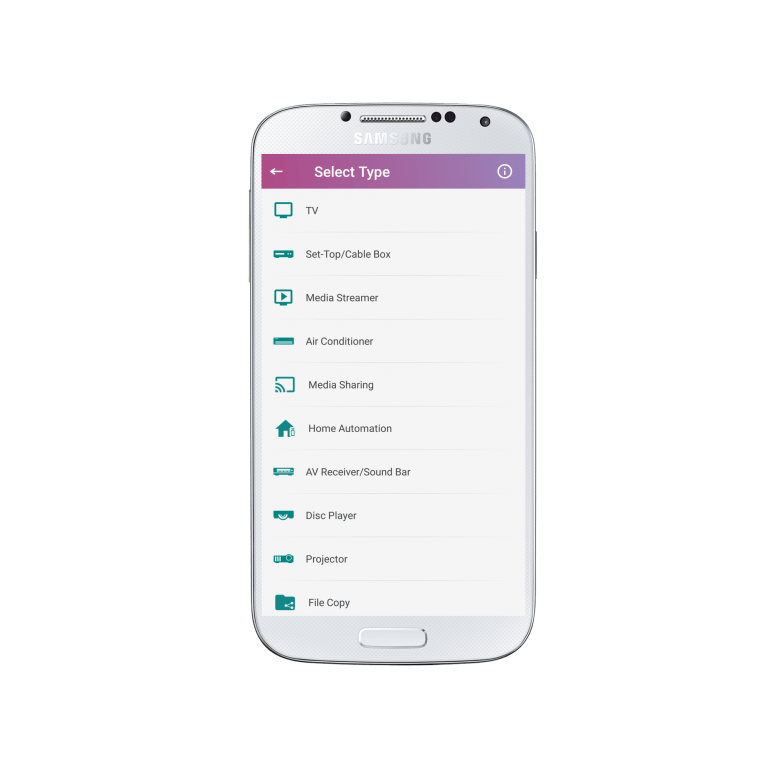
3. Select “Air Conditioner”
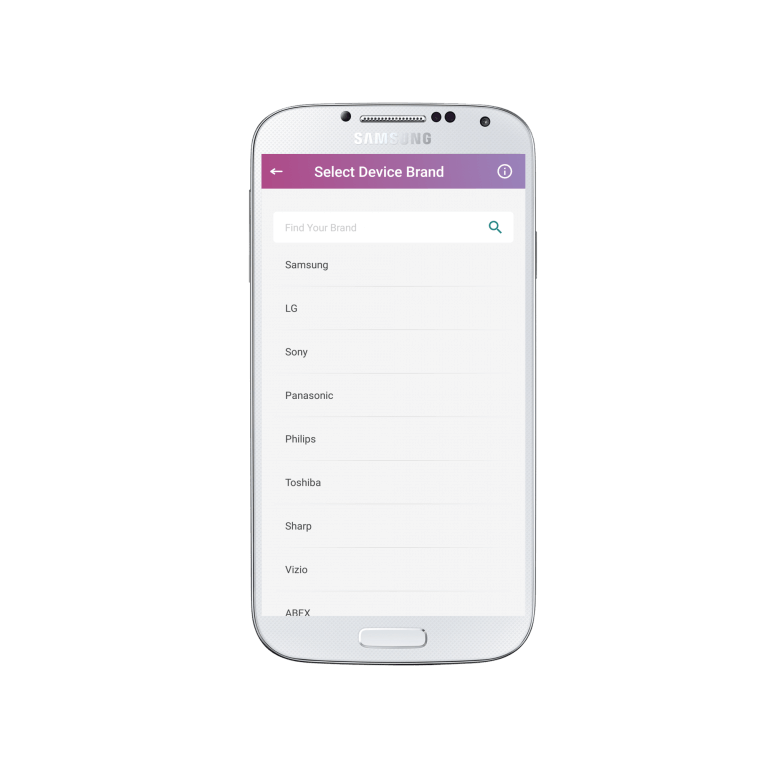
4. Select the Device Brand. (If your brand is missing please run a full AC Remote scan of all our air conditioner remotes as one could work for your air conditioner)
5. Please wait as additional remotes are loaded from the SURE Cloud.
*Make sure that you are connected to WiFi to access them all – after you add the remote you will no longer need WiFi to use it.
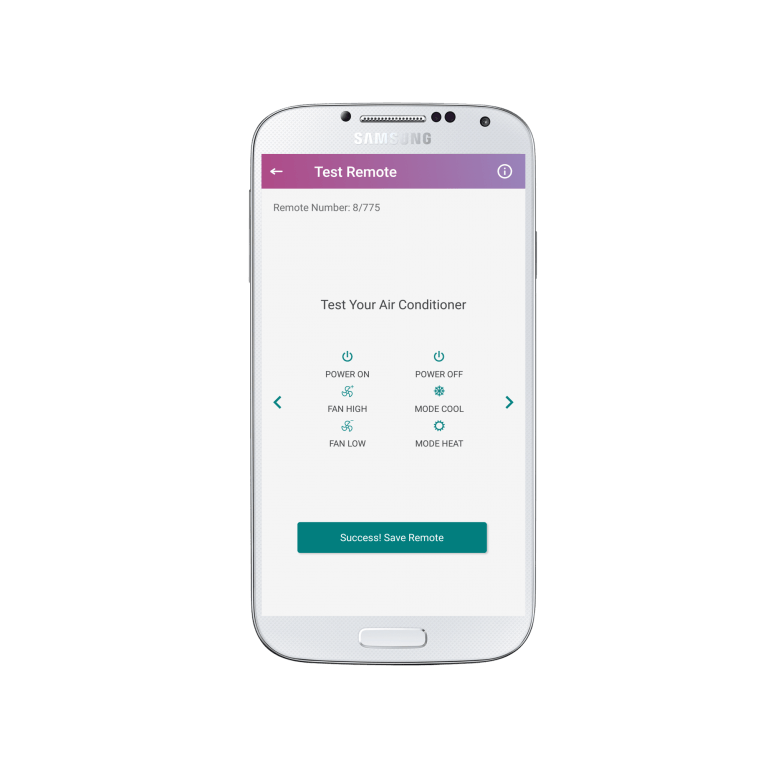
6. Now test if the remote works for your air conditioner.
a. Click the “Power On” button to check if this is your device
b. If your device switches on check the other buttons such as Fan High, Fan Low, Mode Cool, Mode Heat and if everything works click “Success! Save Remote”
c. If not, click “No, Next Test” and return to “b” above and keep running each test until the device responds to all the buttons
IMPORTANT NOTE:
Once you have tried all the remotes available and none of them work for your air conditioner, click the “Try Complete AC Scan” button and follow the instructions here.
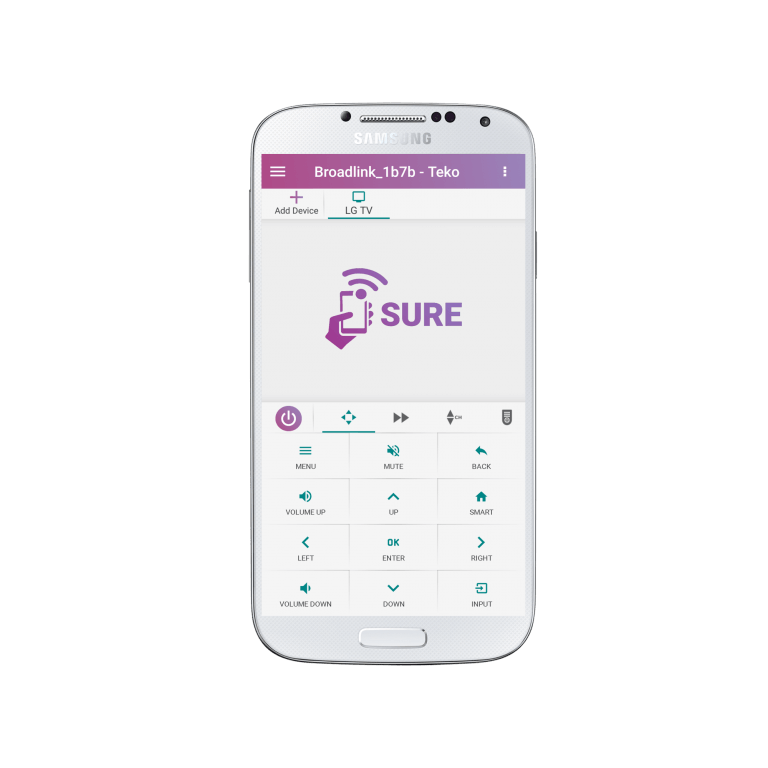
7. Congratulations! Your remote will now appear as below:
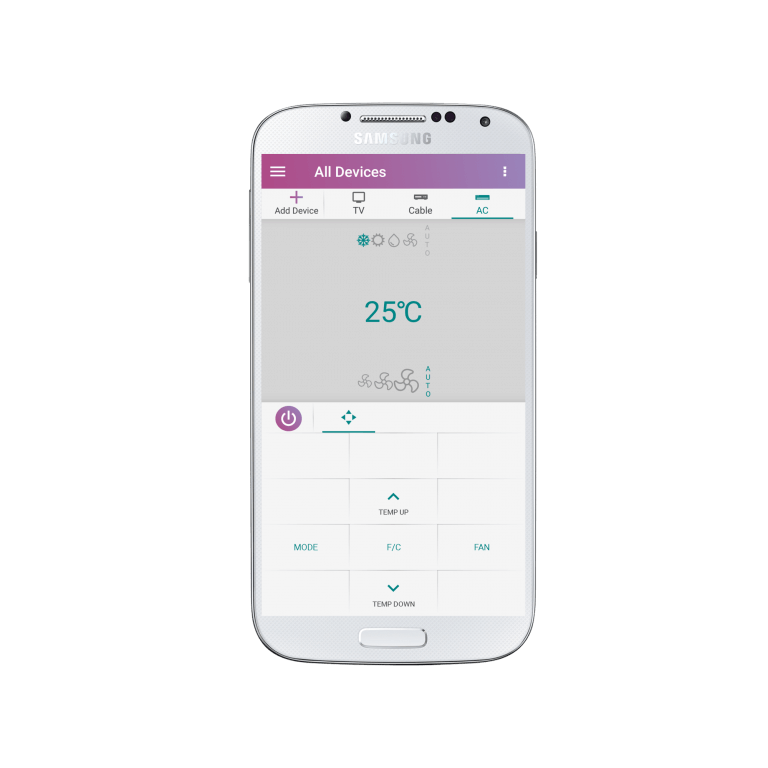
You can now rename your remote if you wish and continue adding more devices. Enjoy!